
Choose glasses for a round face shape by checking cheek clearance, bridge position, lens depth, and the line you want to add. Open the detector
Glasses for Round Face Shape: Check the Cheeks Before the Corners
The best glasses for a round face shape are usually rectangular, softly square, wayfarer, browline, or lifted cat-eye frames that reach the cheekbone line without landing on the fullest part of the cheek. If you are comparing the best glasses for round face, the useful order is not “pick the most angular frame.” First confirm the round pattern, then check width, bridge position, lens depth, and what happens when you smile.
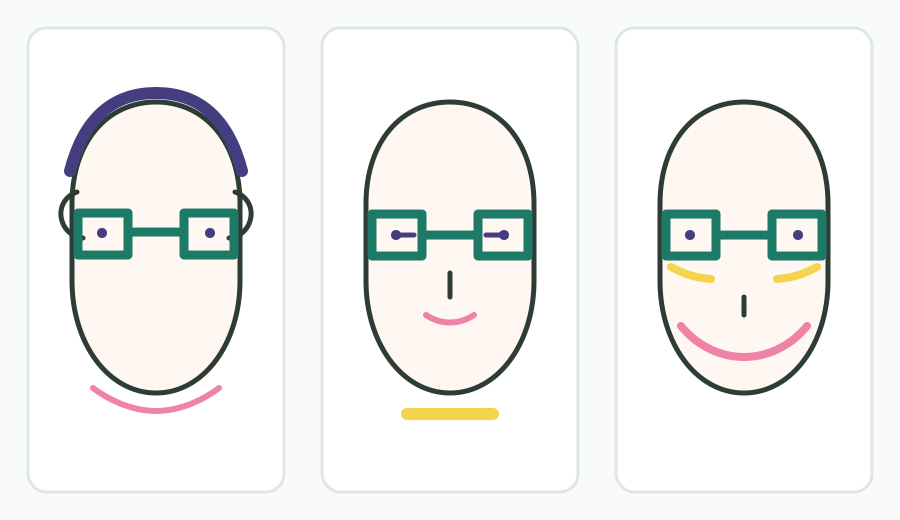
Start by Confirming the Round Pattern
A round reading usually means the face length is close to the cheekbone width, the cheekbones are near the widest point, and the lower outline has a soft curve rather than a clear corner. One practical comparison uses a length-to-cheekbone ratio around 1.0 to 1.15 as a starting band. It is not a universal diagnosis; it simply tells you why a short, soft outline may need a different frame test from an oval or square one.
Pull the hair back and use the same straight-on view for the face and the frame. If the camera is tilted or the cheeks are partly hidden, a frame can appear to fix a problem that the photo created. The face-shape label is a starting description. The frame still has to land in the right place.
Let the Cheekbone Line Set Width
Measure or estimate the widest facial line at the cheekbones, not near the ears. The front of the frame should reach that line and may extend slightly beyond it. A useful fitting starting point is 0 to 5 mm of overhang per side, but the right amount depends on the bridge, the temple angle, the lens prescription, and how the frame moves on your face.
An under-width frame can make the cheeks look wider because the frame stops inside the widest area. An oversized frame can create the opposite problem: the rims become the first thing people see, and the eyes look lost inside them. Width is a gate, not a contest. Stop increasing the size once the outer edge clears the cheekbone line and the bridge remains stable.
Choose Lines That Leave the Cheek Curve
Use the frame geometry to decide what you want the eye to read:
- Rectangle: adds a clear horizontal path and can make the face feel longer.
- Soft square: keeps the corners visible without making the expression look rigid.
- Wayfarer: combines a brow line with corners that flare away from the cheeks.
- Browline: puts stronger visual weight above the eyes and leaves the lower rim quieter.
- Lifted cat-eye: sends the outer line toward the temples instead of stopping at the fullest cheek area.
Small round wire frames are the common first failure because they repeat the face's curve and stop inside the cheekbone width. That does not mean a round face can never wear round glasses. A larger round frame with a straighter top edge or a strong brow can create a different effect. Test the line the frame adds, not only the shape name printed on a product page.
Set the Bridge Before the Color
A strong frame shape cannot rescue a bridge that slides. Put the frame on without pushing it upward and check whether the bridge stays in contact while you look down. If the bridge is too low, the whole frame can drop onto the cheeks, shorten the visible forehead, and put the lower rim where you were trying not to add another curve.
When the frame width changes substantially, re-check your pupillary distance against the new optical centers instead of carrying an old number forward automatically. The pupils should sit in a usable position inside the lenses, and the temples should rest without pinching or flaring away. For prescription glasses, optical centering is a fit requirement, not a styling detail.
Let a Smile Expose the Bad Fit
Do not approve a frame from one still photo. Smile, look down, turn your head three-quarters, and read for a minute. Watch four failure points:
- The lower rim touches or rides on the fullest part of the cheek.
- The bridge slips when the head tilts down.
- The pupils move too close to one side of the lenses.
- The temples press after the frame has been worn long enough to warm up.
One personal try-on record tested five frames on a round face. The first was too small, two others looked too boxy, one fit but lost points because of the bridge, and the final choice was the one whose width worked without fighting the cheeks. The useful lesson is the order of failure: size and cheek clearance were settled before the wearer judged the style.
Do Not Let Lens Height Undo the Shape
Lens depth controls where the bottom rim lands. A lens can be angular and still make the face look rounder if it reaches down onto the cheek. A shallower lens is often the cleaner first test for a round face, but the marked width alone does not tell you the vertical landing point.
If you need progressive or bifocal lenses, lens height becomes a prescription constraint as well as a visual one. Many progressive designs need roughly 28 to 30 mm of usable lens height for their distance and near zones. Do not remove a frame from the shortlist solely because it is not the most “flattering” shape; let the optician confirm whether the lens design and your natural head position can work in it.
Record the Try-On as A, B, and C
Use the same lighting and the same neutral expression for the first comparison. Record the frame in three layers:
- A: width: Does the outer edge reach the cheekbone line without making the eyes look small?
- B: landing: Does the lower rim clear the cheek when you smile and turn?
- C: structure: Do the top line, corners, bridge, and color create the effect you actually want?
If A fails, change width before changing color. If B fails, change lens depth or bridge position before changing the whole frame family. If C fails, try a softer corner, a quieter material, or a stronger upper rim while keeping the dimensions that already fit.
This keeps a bad first pair useful. A frame that looks wrong may have supplied the correct width, or it may have proved that the bridge is the real problem. Keep the measurement that survived and replace only the variable that failed.
What to Ask Before Ordering
Ask for the total front width, bridge width, lens depth, and temple length. Then ask where the pupils will sit, whether the lower rim will clear the cheek while smiling, and whether the selected lens design needs more vertical space. A frame-size string is helpful, but it is not a substitute for seeing the frame on your own face.
Are round glasses forbidden for a round face?
No. Small round frames often repeat the cheek curve, but a larger round frame with a straighter upper line can create contrast. Judge the width, top edge, and cheek clearance together.
Is a wider frame always better?
No. The frame should reach the cheekbone line without making the eyes look undersized or the bridge unstable. Once the outer edge clears the widest point, more width can become visual bulk rather than balance.
Why does the frame touch my cheeks when I smile?
The lens may be too deep, the bridge may be dropping the frame, or the frame may be sitting too low for your cheek shape. Test the bridge and lens depth separately before abandoning every angular style.
Do progressive lenses change the shortlist?
They can. Lens height and the position of the optical zones matter, so a frame that looks good in a selfie may not leave enough usable height. Confirm the lens design, fitting height, and natural head position with an optician.
Keep the Frame That Survives Movement
Start with the best glasses shape for round face as a geometry question, then let the fit decide. Keep the pair that reaches the cheekbone line, stays steady at the bridge, keeps the pupils sensibly centered, clears the cheeks during a smile, and leaves enough lens height for the prescription. Only after those checks should you choose color, material, or decoration.
The right frame does not need to erase a round face. It needs to add a deliberate line without turning the cheeks, bridge, and lower rim into one crowded circle.